phpMyAdmin is an open-source browser-based MySQL database management tool. It allows for easy management of databases, data tables, indexes, users, permissions, and more without the need to learn command-line interfaces. phpMyAdmin also supports various import and export formats such as csv and sql, making it one of the most popular database management software tools available. This guide is based on an Ubuntu 20.04 cloud server and outlines the steps for installing and using phpMyAdmin.
Update Ubuntu to the latest status.
$ sudo apt update -yInstall necessary PHP extensions.
$ sudo apt install -y php-json php-mbstring php-zip php-gd php-curlInstall the phpMyAdmin software package
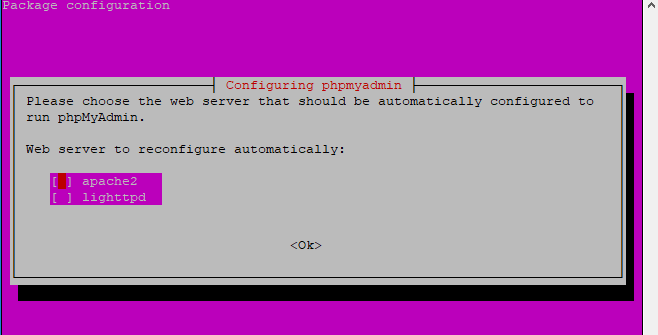
$ sudo apt install -y phpmyadminWhen prompted to select a web server, choose apache2 as shown in the screenshot.
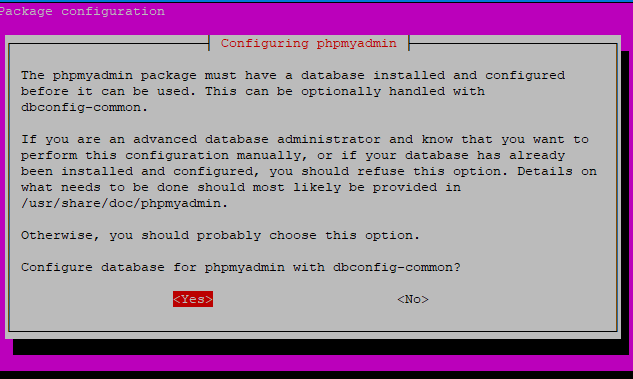
When asked about setting up the phpMyAdmin database, select "Yes" and press Enter to proceed.
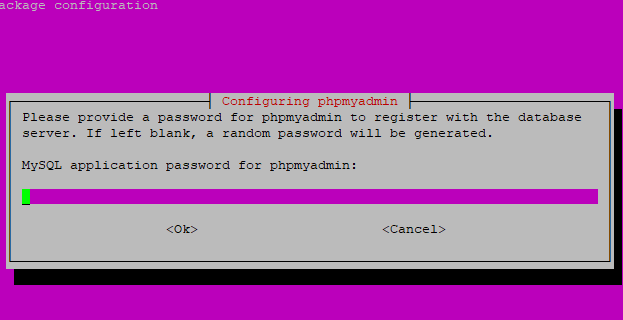
Enter a complex password for the phpMyAdmin database, press Tab, and then Enter to move to the next step.
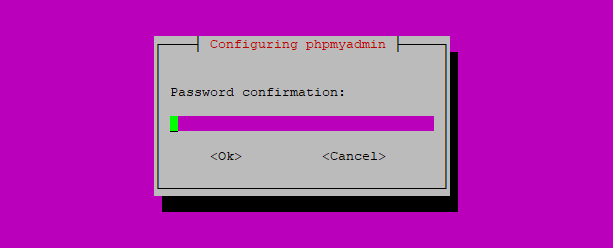
Re-enter the same password, press Tab, and then Enter to proceed.
Enable the phpMyAdmin configuration file just created using the a2enconf command and restart the Apache server.
$ sudo ln -s /etc/phpmyadmin/apache.conf /etc/apache2/conf-available/phpmyadmin.conf
$ sudo a2enconf phpmyadmin.conf
$ sudo systemctl restart apache2
At this point, phpMyAdmin has been successfully installed. Next, we will create a sample database to demonstrate logging in and managing with phpMyAdmin.
Log in to the MySQL database via the command line, enter the root user password, and press Enter to proceed.
$ sudo mysql -u root -pCreate a sample database and user, granting the user necessary permissions to the database.
mysql> CREATE database sample_db;
mysql> CREATE USER 'test_user'@'localhost' IDENTIFIED WITH mysql_native_password BY 'EXAMPLE_PASSWORD';
mysql> GRANT ALL PRIVILEGES ON sample_db.* TO 'test_user'@'localhost';
mysql> FLUSH PRIVILEGES;
mysql> QUIT;
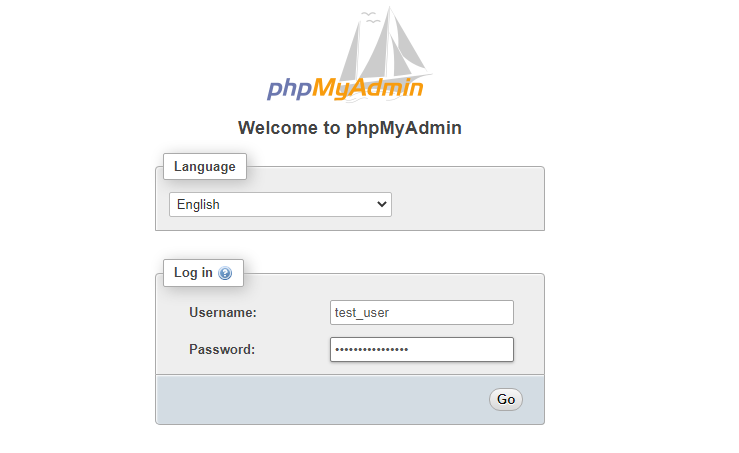
Access the phpMyAdmin management address: http://192.0.2.1/phpmyadmin, and enter the username and password created earlier.
Upon successful login, the phpMyAdmin management dashboard will appear like the example shown, with the sample_db database visible on the left side.
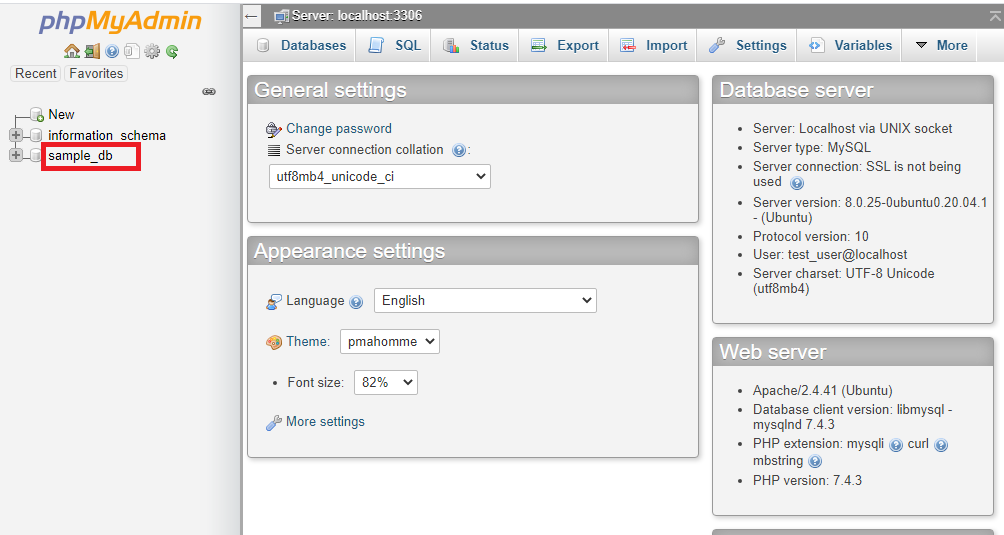
With these steps completed, phpMyAdmin has been successfully installed on this Ubuntu 20.04 cloud server.
23-02-2024 02:02:07
22-02-2024 03:19:32
22-02-2024 03:16:03
22-02-2024 03:14:03
22-02-2024 03:11:58